|
||
 |
||
|

|
||
|
||
|
||
|
|
||
|
FIG. 2 |

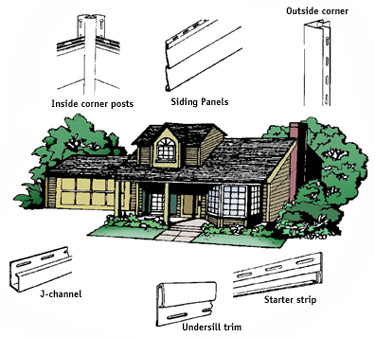
VINYL SIDING
|
|
|
|
|
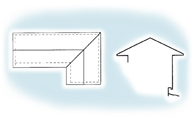
FIG. 3 - Find the sum of all horizontal dimensions to find the perimeter, then multiply by the height to find the square footage. |

ESTIMATING VINYL SIDING
|
|
|
|
|
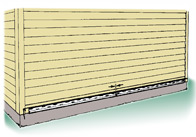
FIG. 4 - Take extra care to make sure your baseline is level, then install the starter strip. Leave a 1/4" gap wherever the ends meet.  FIG. 5 - Cut a tab in the end of the J-channel over a door or window, then bend it into the side channel to form a rain drip. 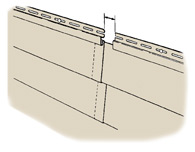 FIG. 6 - Panel ends should be overlapped away from prevailing traffic, either 1" or according to the manufacturer's specifications. |

INSTALLING VINYL SIDING
|
|
|
|
Inside Corner Posts
Outside Corner Posts
Undersill Trim
Hammer
Chalk Line
Steel Tape Measure
Utility Knife
Straightedge
Tin Snips
Level
Line Level
Circular Saw
Fine-Toothed Blades
Galvanized Roofing Nails
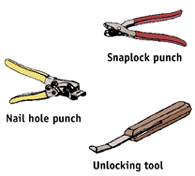
Snaplock Punch
Nail Hole Punch
Unlocking Tool
Hacksaw
Ladder
Carpenter's Square
Felt Tip Pen
Mason's Line
Sawhorses
| Check your state and local codes before starting any project. Follow all safety precautions. Information in this document has been furnished by the National Retail Hardware Association (NRHA) and associated contributors. Every effort has been made to ensure accuracy and safety. Neither NRHA, any contributor nor the retailer can be held responsible for damages or injuries resulting from the use of the information in this document. |